
Our Concrete
Guides
Practical, plain-language guides on ordering, placing and caring for ready-mix concrete — written by the people who batch and deliver it across Gauteng every day.
Plastic Shrinkage Cracking in Concrete
- Quick-Mix Team
- September 5, 2026
- 5 min read
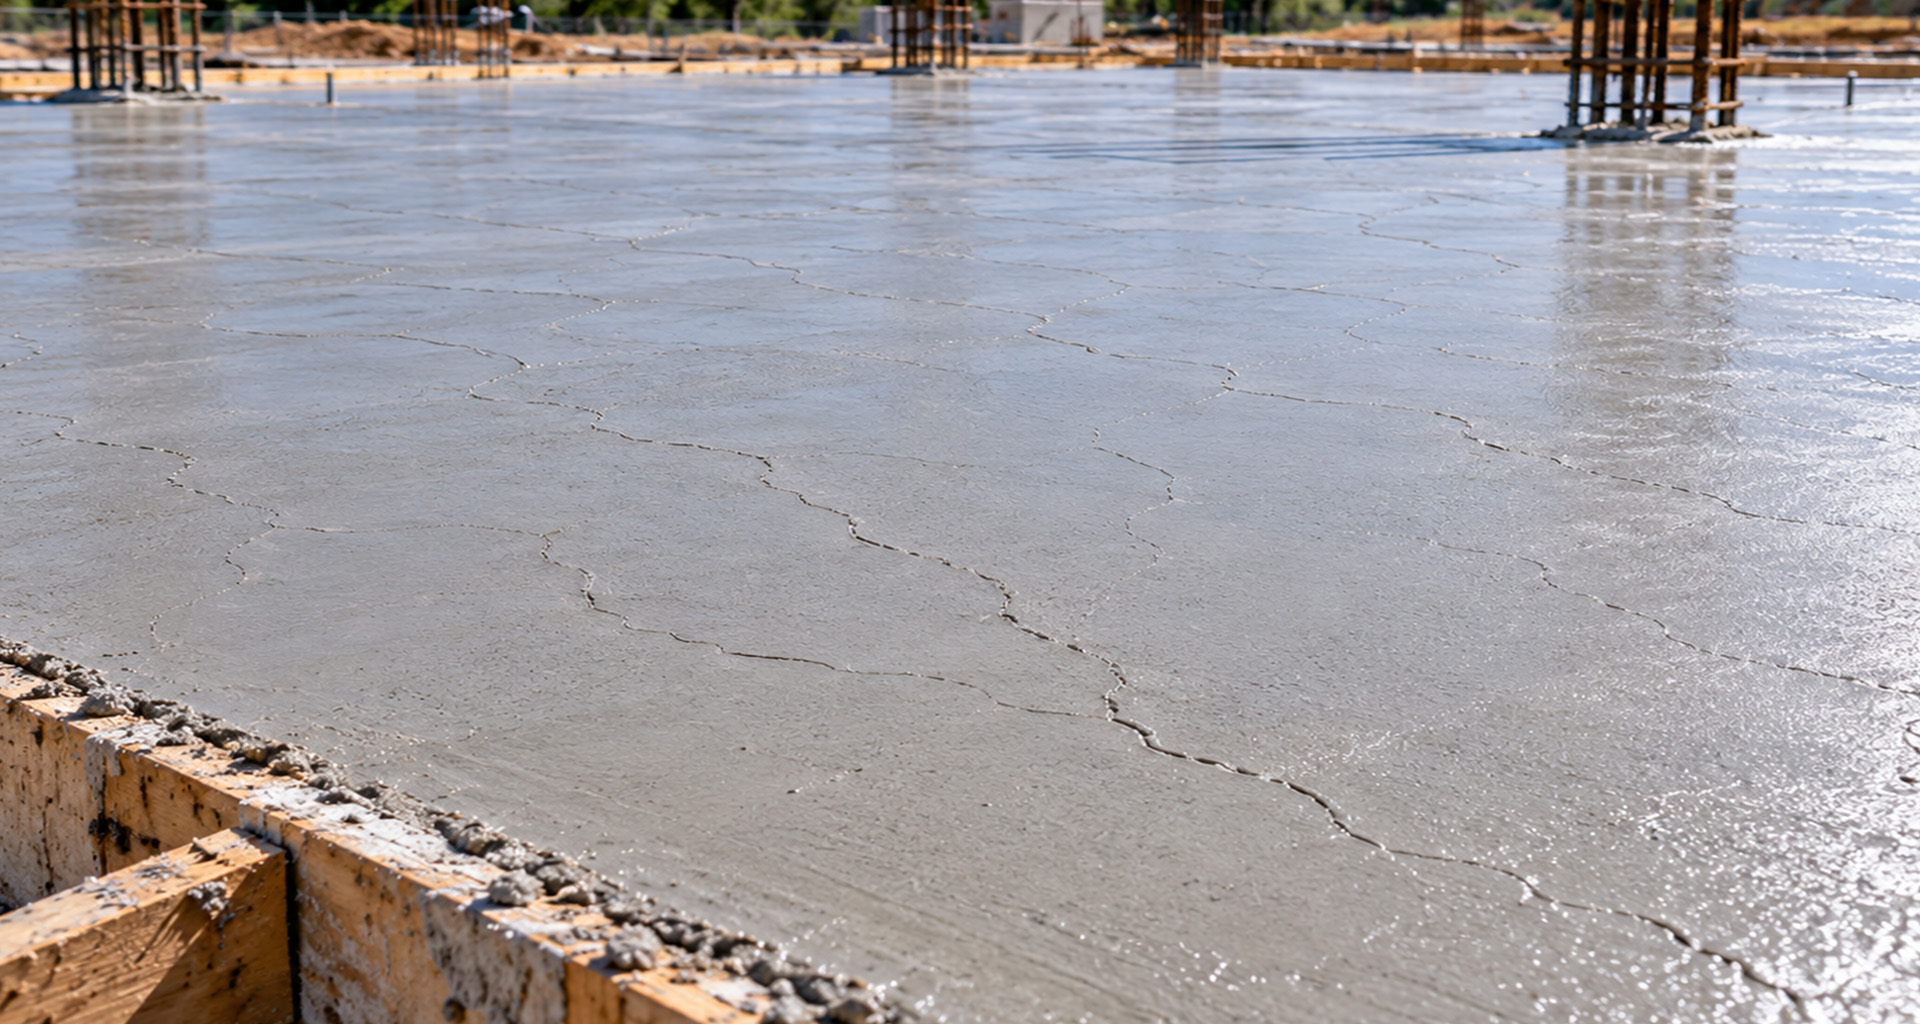
Plastic shrinkage cracks appear on the surface of fresh concrete—usually within the first few hours after placement—while the concrete is still in its "plastic" (unhardened) state. These cracks form when surface moisture evaporates faster than bleed water can rise to replace it.
Unlike drying shrinkage cracks that develop weeks or months later, plastic shrinkage cracks show up early, often before finishing is complete. They're typically shallow, parallel, and range from a few inches to several feet in length. Understanding the mechanism is the first step to prevention.
The Mechanism
Concrete bleeds—water rises to the surface as heavier particles settle. Under normal conditions, this bleed water maintains surface moisture. But when evaporation exceeds bleed rate, the surface dries out and shrinks while the underlying concrete is still plastic and cannot restrain the movement. Tensile stresses exceed the concrete's minimal early-age tensile strength, and cracks form.
Identifying Plastic Shrinkage Cracks
- Timing: Appear within 30 minutes to 6 hours after placement
- Pattern: Random, parallel, or map-like (crazing)
- Depth: Typically 1–3 inches deep, rarely full-depth
- Width: Hairline to 1/8 inch
- Location: Exposed surfaces—slabs, pavements, bridge decks
Prevention Strategies
The goal is to keep the surface moist until the concrete gains enough tensile strength to resist shrinkage stresses.
Before the Pour
- Dampen subgrade and forms (don't leave standing water)
- Use vapor retarders under slabs on grade
- Schedule pours for cooler, less windy times of day
- Have evaporation retarders, fogging equipment, and curing materials on site
During Placement & Finishing
- Apply evaporation retarder (monomolecular film) immediately after screeding
- Fog spray with fine mist if conditions are severe
- Minimize delay between placing and curing
- Avoid overworking the surface—excessive finishing brings paste up and increases shrinkage
Curing—Start Early
- Begin curing as soon as surface can withstand it without damage
- Use wet burlap, plastic sheeting, or curing compounds
- Maintain continuous moisture for minimum 3 days (7 days for structures)
Mix Design Considerations
Certain mix characteristics increase susceptibility:
- High cement content / high paste volume
- Low water-cement ratio (less bleed water)
- Silica fume, fly ash, or slag (reduce bleeding)
- Fine sand (increases water demand)
- Accelerating admixtures (shorten bleed window)
When these factors are present, increase prevention measures accordingly.
Repair Options
If cracks appear despite prevention:
- During finishing: Close cracks by re-floating with added moisture (only if concrete is still plastic)
- After initial set: Epoxy injection or gravity-fed low-viscosity resin for structural concerns
- Non-structural: Surface sealers or overlays for durability and aesthetics
Document crack locations—plastic shrinkage cracks can indicate zones of potential future drying shrinkage or corrosion risk if left unsealed.
Quick Reference: Evaporation Rate Guide
ACI 305R provides a nomograph to estimate evaporation rate based on air temperature, concrete temperature, relative humidity, and wind speed. As a rule of thumb:
- Below 0.1 lb/ft²/hr: Low risk—standard practices sufficient
- 0.1–0.2 lb/ft²/hr: Moderate risk—use evaporation retarder
- Above 0.2 lb/ft²/hr: High risk—implement full protection (windbreaks, fogging, immediate curing)
Concrete durability starts before the truck arrives. Control the environment, protect the surface, and cure with intention.